Our earlier guide for the second turn of the Final Coil of Bahamut covered the first phase of the fight. There’s a ton more you have to keep in mind and make sure you’ve got enough gil stashed to be able to repair your gear!
Coil of Bahamut: Nodes, Nodes, Nodes!
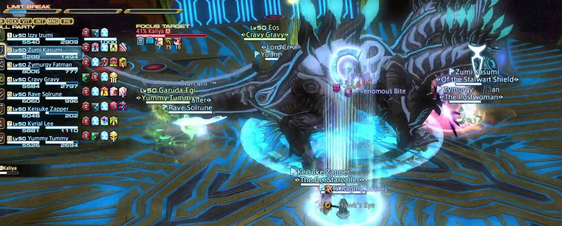
Upon hitting 60% health the boss will summon adds that Final Fantasy XIV Gil hunters will need to deal with. Prominent among these are three nodes. First is an Electric Node in the shape of an egg, second is a Weapons Node of spherical shape and third is a Gravity Node bearing a cube shape. Note that the boss will be invulnerable during the phase and will stay in the middle of the room. Get too close to Kaliya and she will instantly kill you.
Care should be taken to keep the nodes away from each other. If they get close to each other a violet line will form. If left alone, the nodes will merge and get a massive boost to life and damage. The egg-shaped node cannot be tanked and will move across the room dealing heavy damage to those that enter melee range. The Weapons and Gravity Nodes however can be tanked and kited.
Node skills
Each of the six adds have skills. The cube will use Gravity Well which will target a random party member and place a void zone underneath them. Staying in the zone will apply the Heavy debuff on them. All of the cube’s attacks also crit. The sphere can use Repelling Cannons which deal AoE damage split among those hit. Lastly, the egg places the Forked Lightning debuff on a random player. When it goes off, it deals a lot of damage and paralyzes FFXIV Gil hunters near it. The three adds near the boss will also fire column attacks that deal moderate damage.
Crunch Time on the Nodes!
Only the Weapons Node and Gravity Node can be killed. They have to be eliminated at the same time however. The moment one of these two nodes die, the remaining one will immediately try and merge with the Electric Node which will result in a wipe. As such, make sure that the two die within seconds of each other. Note that the cube takes less physical damage, while the sphere has better magic resistance.