If you thought you are done with the Coil of Bahamut, then you thought wrong. Patch 2.2 for Final Fantasy XIV: A Realm Reborn added a set of four raids for Final Fantasy XIV Gil hunters to go through. While not the latest in the raids featuring this monster filled labyrinth, this is chronologically the next one you should go through.
Continuing your FFXIV Gil hunter’s mission
Continuing the Binding Coil of Bahamut is the Second Coil of Bahamut. Some FFXIV Gil hunters will actually refer to this set of raids as Turn 6 to Turn 9. For our purposes, we will refer to them as Turn 1 to 4. The raids are unlocked by completing the Another Turn in the Coil quest. This is given out by Urianger in the Waking Sands in Western Thanalan (x6, y6). This quest however requires the Alisaie’s Pledge to be completed first. Additionally, players may need to buy FFXIV Gil to get their equipment above item level 90.
Vines and Caresses your FFXIV Gil hunter will endure
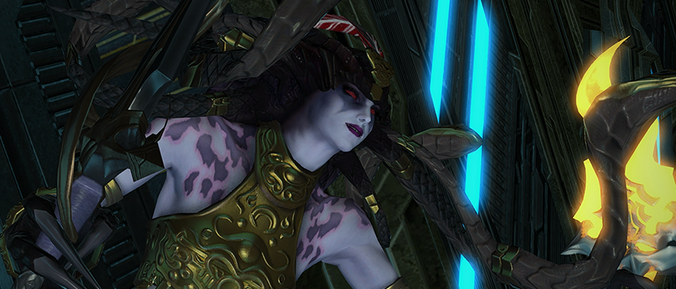
If you’re looking to get cheap FFXIV Gil from this raid, you’ll have to make sure that your party will have two tanks. The boss of this raid, Rafflesia, uses Bloody Caress. Aside from being a frontal cleave dealing moderate damage, this skill also places a Vulnerability Up debuff on the tank. As such, the tanks should swap frequently to avoid have more than three debuff stacks on them at a time.
Another important skill to be wary of in this fight is Thorny Vine. This ability will chain two or more characters together dealing constant damage to them. The chain can be broken, and the damage halted, by moving away from each other a certain distance.
Don’t let your FFXIV Gil hunter get devoured
Aside from the two skills above, Rafflesia will also periodically use Briary Growths. The latter summons three Dark Matter Bulbs that slow grow in a thorny area. Kill any bulbs that appear in the center of the room, while leaving those along the edges to grow.
During the first phase the boss will mark a random character to be devoured. This will deal a lot of damage to them as well as giving the boss a powerful buff. To avoid being devoured, characters will need to be either inside a Briary Growth or away from the boss. After this move, the boss will use Spit which will damage the entire party before repeating its skill rotation.