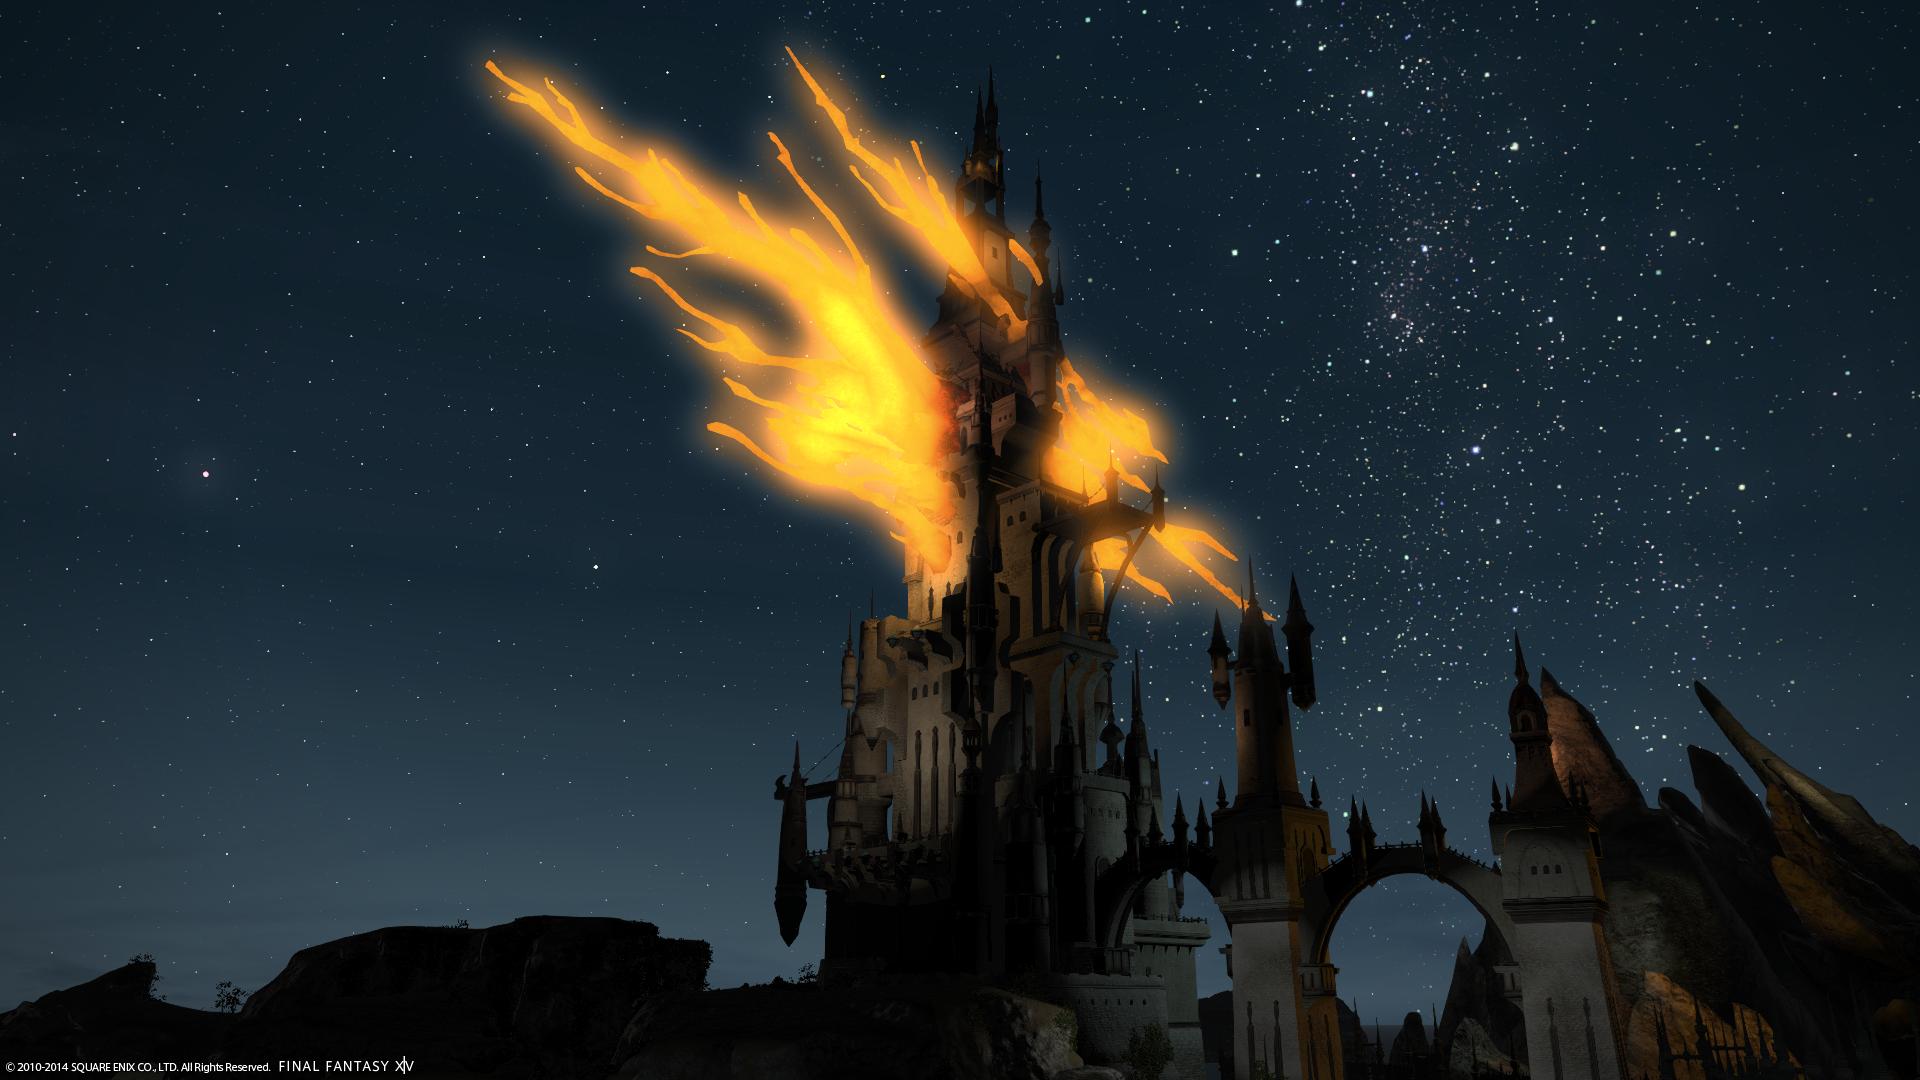
We can all agree that the best feature of any MMORPG is being free to explore the open-world as you wish. Other than cities and towns, you can stumble upon caves, hidden temples, ruins, dungeons, and other unlockable zones within the game. These zones are gold mines for different types of loot, which is why exploration is not only enjoyable, but also necessary to progress through the game. For today’s guide, we’ll be covering one of the dungeons in Final Fantasy XIV for FFXIV account holders — Pharos Sirius (Hard).
Pharos Sirius for FFXIV Account Holders
The quest can be found in Limsa Upper Decks (12, 12), Quest Name “Things are Getting Sirius”, NPC: Trachraet. The nearest aetheryte is Limsa Lower Decks, then take the aethernet to ‘The Aftcastle’. Pharos has two non-boss areas which can cause trouble, I listed them below as “Long hallway with bombs” and “Bomb Room”.
Pharos Hard 1st Boss: Ghrah Luminary
Final Fantasy XIV account holders should bring tethers to spheres. Only one tether can be attached to one sphere. Note that these spheres become adds and will undoubtedly attempt to kill the raid members.
Map Mechanics: Long Hallway with bombs
This long pull starts when you see some big armored dude. You can tell when you see little bombs suiciding to bother you guys. Proficient groups will pull all the way to the end. Otherwise this is a huge time sink.
Pharos Hard 2nd Boss: Mr. Kobold (Be Gu)
The DPS Final Fantasy 14 account holder should pull slimes to vents, killing the slimes will ‘seal’ the vent – and prevent bad things from happening. Kill all adds to prevent buffing boss.
Map mechanics: Bomb Room
Little bombs will spawn from machines and target walls – if they destroy a wall things get messy. So for this room with three “bomb-generators” simply have the tank pull all baddies, and have dps kill all bomb generators. Failing to do this properly or fast enough is a massive time delay, and overall hassle.
Pharos Hard Last Boss: Fat Fire (Progenitor)
In the first phase (while he’s red), nothing special really happens here. The second phase (while he’s blue) has some interesting mechanics: Blue and Red bombs can be pushed: You do not need to kill these guys, simply prevent them from uniting! Ranged DPS or healers are the best bet to “reset” these guys, but of course, as melee – if you see it you may as well. Grey Flame are the adds you have to kill. Big Burst deals more damage if your DPS is lower. So try to do a bit more when he casts this. I don’t think any group with brain cells will wipe to it regardless.


