In the first part of this guide we covered how veteran and new FFXIV account holders should deal with the main mechanic of the fight with the Avatar. Here in the second part of the guide we will go into the phases of the actual fight. Take note of which Biotowers appear and you’ll finish the Second Coil of Bahamut Turn 3 raid easily.
FFXIV Account holders versus the Avatar
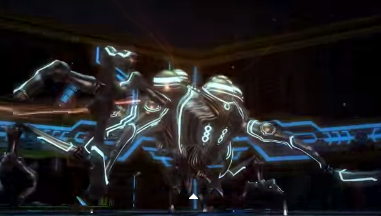
In the first phase of the fight against the Avatar, Final Fantasy XIV account holders will have to contend with two sets of Biotower activations. Note that the sets do not come up at the same time. The first set is composed of the North Biotower and the West Biotower. This means you will have to face a Clockwork Dreadnaught as well as raidwide damage. Make sure to manually trigger the North Biotower twice. The goal is to deal with the Dreadnaught quickly.
The second set is composed of the East and West Biotowers. As such, healers need to be prepared to heal through triggered landmines. When detonating the mines, be very careful not to be knocked back into another mine as this can easily kill your character.
Second phase FFXIV Account holders need to go through
In the second phase, Final Fantasy 14 account holders will have to deal with two new skills. This is on top of the Biotowers that will activate and the three main skills the Avatars use. The two new skills are Brain Jack and Ballistic Missile. The former causes the player it hits to attack other players. Often times this will hit the tank. As such, if you see the skill being cast, make sure a different character is in its area of effect.
The second skill will place small and large circles on the ground. Characters will be bound to the circle and will take damage until they die unless others step into the circle. For small circles, there must be two characters inside, while large circles require three. Note that this skill and the Brain Jack only works during phase two.
Final phase on your FFXIV Account
In the third and final phase of the fight, players will need to be wary of the Allagan Field ability and debuff. Once placed on a character, that character will not take any damage. Instead, all damage taken is stored. Once the effect ends the character will unleash a raidwide AoE that deals double the damage that was stored. As such, make sure the debuffed characters takes as little damage as possible.