In an earlier guide we covered how to get into and fight the first boss of The Wanderer’s Palace (Hard). Today we’ll go over the two remaining bosses in this dungeon in Final Fantasy XIV: A Realm Reborn. We will also go over the items Final Fantasy XIV account holders will be able to get upon completing the dungeon.
Working with totems on your FFXIV Account
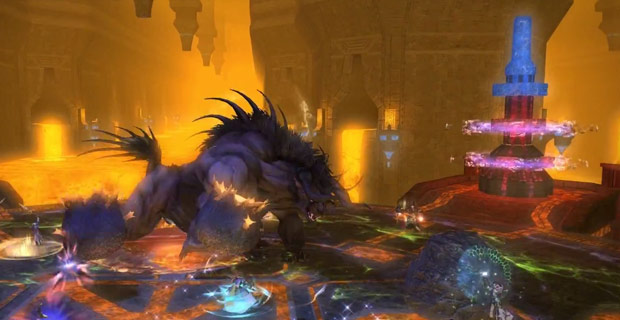
The second boss of the dungeon, Slithy Zolool Ja, is a Shaman and will thus summon four totems throughout the fight. The totems come in four colors: purple, red, blue and green. They also have four effects that are randomly assigned on each run of the dungeon. Early in the fight, Final Fantasy 14 account holders should check to see which totem does what. There will be a totem that increases damage, another that lowers fire resistance, another than places the Heavy debuff, and a totem that will cleanse the toad debuff. The attack buff totem should be taken by DPS as when it is absorbed by the boss, it will have increased damage.
During the fight, Zolool Ja will turn a random party member into a toad. This debuff will go away over time but FFXIV account holders are advised to pick up the cleansing totem to remove the effect.
Facing doom and standards on your FFXIV Account
The last boss of The Wanderer’s Palace (Hard) dungeon is Manxome Molaa Ja Ja. This boss uses a mechanic that players will have encountered earlier in the dungeon – Battle Standards. The ones this boss spawns behave similarly and will increased the damage and defense of Molaa Ja Ja. As such, the tank should make sure to pull the boss away from the Standards it will summon.
Another mechanic the party needs to watch out for, especially the healers is Doom. The boss will cast this debuff on a random party member. The healer needs to restore the affected character’s life back to full within 20 seconds to remove the debuff. If it is not removed, the character instantly dies.
Items for FFXIV Account owners
The bosses of the dungeon will drop various items of item level 100 for your veteran FFXIV account. These include equipment from the Bogatyr’s line, Picaroon’s and Varlet’s. Crafting materials are also dropped including, but not limited to Scheelite, Emery and others.


