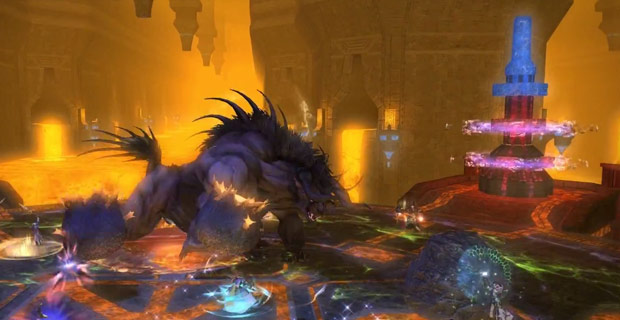
In the first part of our guide to the Amdapor Keep (Hard) dungeon we discussed how to gain entry and deal with the first boss. Here in the second part, we will show FFXIV Gil hunters how to defeat the remaining two bosses of this dungeon in Final Fantasy XIV: A Realm Reborn. We will also go over the items players can get to sell for cheap FFXIV Gil.
Get FFXIV Gil from the Boogyman
The second boss of the dungeon is the Boogyman. Final Fantasy XIV Gil hunters need to get ready as this is a particularly trying battle. The boss has several AoE attacks that considerable damage and a large cone attack that damages and confuses characters causing them to attack their allies. The effect can be avoided however by facing your character away from the boss. Throughout the fight, the boss will also revive dead cultists. Take them down quickly as they can use Internal Combustion that deals massive AoE damage.
During the fight the boss will turn invisible while continually attacking the party. To reveal him, players will need to attack a Luminescence orb and get its Irradiance buff. After a set amount of seconds, this buff will cause the character to burst with light. If they are near the Boogyman, the boss will then be revealed and lose invulnerability.
Near the end of the fight the Boogyman will split into two. Make sure to kill the visible one first before revealing the other as two of this boss can easily wipe your party.
AoE dance for FFXIV Gil
The final boss of the dungeon, Ferdiad, has quite a few AoE attacks that players who hunt FFXIV Gil and items must watch out for. Aside from the usual targeted AoE, Ferdiad will also use line AoEs in various patterns that players need to avoid. The boss will also summon to adds that are tethered to him while casting a point blank AoE. While the adds are alive the AoE will grow. The adds needs to be focused down before the area affects the entire room and ultimately kills the party.
To make matters worse, Ferdiad can summon a slime to prevent a random party member from moving. If this happen, make sure to focus down the slime to free the trapped ally.
FFXIV Gil and item rewards for completion
Completing Amdapor Keep (Hard) will reward players with 100 Tomestones of Soldiery and 40 Tomestone of Poetics. This can be used to get end game equipment instead of buy FFXIV Gil. The bosses also drop equipment at item level 100.


