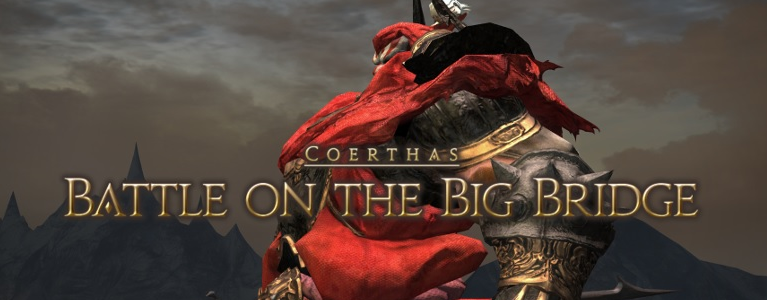
Gilgamesh is one of the staple bosses in the Final Fantasy series. He makes an appearance in Final Fantasy XIV: A Realm Reborn in the Battle on the Big Bridge Trial. Here, FFXIV account holders can take him and his chickens on. Final Fantasy XIV account holders need to prepare though, as the fight get really confusing in more ways than one.
Helping Hildibrand for FFXIV Gil
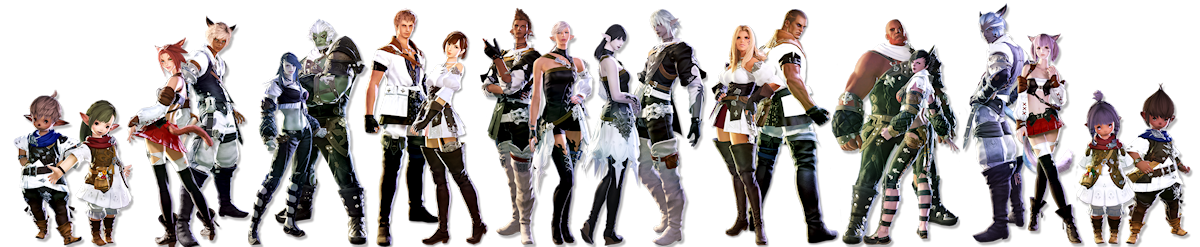
The Battle on the Big Bridge Trial is part of The Three Collectors quest. Final Fantasy XIV Gil hunters will meet Gilgamesh as they escort Hildibrand to Coerthas. The Trial requires a part of eight level 50 characters with gear that have an item level of at least 50. Upon completion, Battle on the Big Bridge will reward players with Allagan Tomestones of Mythology and Soldiery.
Dealing with crowd control for FFXIV Gil
The battle with Gilgamesh is split into two phases. In both of these players need to be careful of the crowd control abilities this boss uses. There are three of them: Toad, Minimum and Confused. Toad temporarily turns a player into a toad and denies them access to their abilities. Minimum will otherwise shrink a player and apply the Heavy debuff on them. Gilgamesh will also chase down the shrunken player. The last skill, Confused will deal damage to a character via a Rocket Punch. The character will then start auto-attacking their nearest teammate, toad or otherwise. Note that these status effects cannot be removed with Esuna or Leeches. They will go away over time, except for Confused which can be removed by healing the character to full health.
Chickens, whirlwinds and FFXIV Gil
At 30% life Gilgamesh will drop a bomb and run away. The party needs to chase after him and deal with some adds. Afterwards it’s on to the second phase of the battle. The boss will now apply status effects on multiple characters. The new area will also have more chickens that will attack characters affect by Toad. Gilgamesh will also now summon whirlwinds that will damage those caught in them. Lastly, he will start using the Giga Jump skill. Healer need to be ready to heal characters targeted by this attack. Party members need to stay clear of the targeted unit to avoid the extra AoE damage.
Deal with the status effects, chickens and the boss and you can reap FFXIV items and Gil from this Trial.