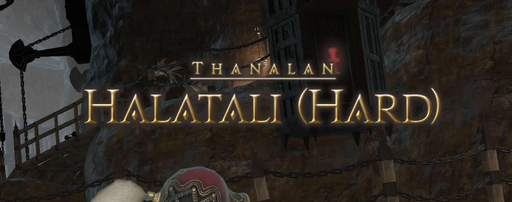
In an earlier guide we covered how to deal with the first boss of Halatali (Hard) in Final Fantasy XIV: A Realm Reborn. Final Fantasy XIV account holders can learn how to deal with the rest of the bosses in the dungeon in today’s guide.
FFXIV Gil from Catoblepas
The second boss of the Halatali (Hard) dungeon is Catoblepas. Upon entering the room of this boss, FFXIV account holders will immediately notice four pedestals with useable levers. These are used during the fight and members should be assigned to each one.
The fight is divided into three phases based on the color of the boss’ eye. During the blue phase, Final Fantasy XIV Gil hunters need only be wary of his Cold Stare which is a massive AoE cone attack. When the boss enters the yellow phase, he will cast Demonic Eye. This ability will turn party members into stone. To avoid this effect, FFXIV Gil hunters will need to activate the Shadowy Orbs on the pedestals. In the red phase, the boss will continue to AoE attacks. It is also in this phase that his Tainted Eye can be attacked.
Fighting another FFXIV Gil hunting party
The next boss fight in the dungeon is actually a face off against an AI controlled party. The enemy party will consist of a Healer, Lancer, Gladiator and an Archer. For this fight, focus down the Healer while kiting the other targets. Once the Healer is down, focus on the next enemy until the enemy party has been defeated.
Mumoepo and friends for FFXIV Gil
After the four combatants comes the real boss, Mumoepo the Beholden and his pet demon. The evil Lalafell needs to be focused down, while the demon is the one that needs to be tanked. The party needs to be wary of Mumoepo’s skill that chains up party members. Those who are free to move must find and use Thal’s Scepter to release the chains. Note that during this, the boss will slow cast a large area spell that deals a lot of damage. Take out Mumoepo and then take out the red demon to finish the dungeon and collect FFXIV items and Gil.