
Primals are powerful entities that roam the world of Eorzea in Final Fantasy XIV: A Realm Reborn. Fans of the series will recognize most of them as ‘summons’ in the older games. FFXIV account holders face Primals in difficult Trials or dangerous FATEs, and defeating them will reward you with powerful weapons, unique armor, special mounts, and story / quest progression.
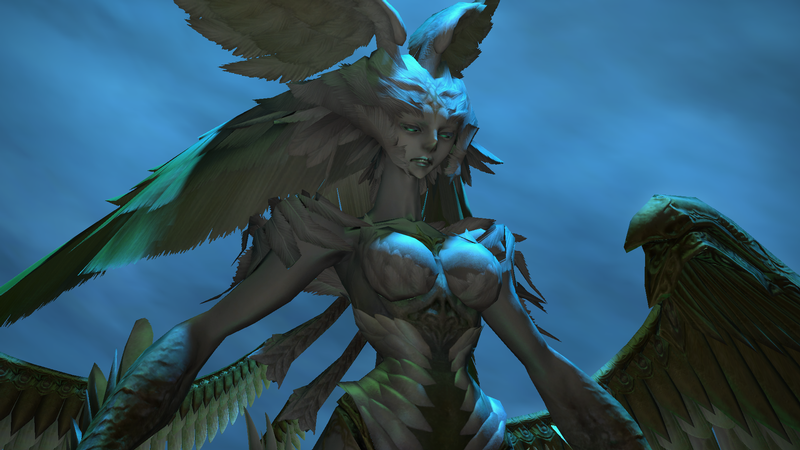
Garuda for FFXIV Account Holders
Get ready to fight the most challenging of the Story Mode Primals on your Final Fantasy XIV account—Garuda! She definitely packs a very complicated punch, so you must pay careful attention to where you position yourself, as well as the other raid members, and be particularly aware of the status of the rock pillars in the center of the arena as you need to keep these standing as much as possible. The tank should pull Garuda away from the center of the arena and keep her from the stone pillars. Ranged attackers should all move to the same side of the area, but spread out as much as possible while remaining in range.
Phase 1: Garuda for FFXIV Account Holders
One of Garuda’s abilities, Friction, damages a random player and everyone around them, including the stone pillars. Another ability is Downburst, which deals damage to everyone in front of her. Wicked Wheel deals damage all around her, and Slipstream deals a powerful frontal column attack with no ground indicator. Tanks should ensure they move out of the way when this is being cast to avoid unnecessary damage.
At about 75% of her health, Garuda will disappear from the area. At this point the party should position themselves between a stone pillar and where she was being tanked. A moment later she’ll cast Mistral Song, which will obliterate anyone in her line of sight when she reappears. Once it’s gone off, the tank should run back first, followed a few seconds later by melee DPS to avoid Downburst and Slipstream.
After her first Mistral Song, she’ll spawn a number of Razor Plume feathers from the sky. Destroy these adds as quickly as possible, because they will attempt to knock down the stone pillars. They can be hit with an area-effect spell, so do just that whenever you can.
At 50% of her health, Garuda will disappear again for another Mistral Song. This time, she will reappear on the opposite side of the arena, so position yourselves accordingly to keep out of her line of sight again. After Mistral Song, she’ll move to the middle of the room and summon another swarm of Razor Plumes which should again be destroyed as quickly as possible, while the tank moves her back to the edge of the arena and the DPS is burning down feathers.
Once Garuda moves to the middle of the area and begins casting Aerial Blast, Phase 1 will conclude. The entire party will take damage according to the state of the rocks, which can be a wipe if you weren’t careful prior to this. A tank limit break can be useful here to mitigate some of the damage as long as you time it carefully and strategically.
Phase 2: Garuda for FFXIV Account Holders
As soon as the second phase on your Final Fantasy 14 account begins, stack in the center of the arena to avoid Eye of the Storm, which summons a whirlwind around the outside of the area. Step into this and you’ll certainly die, so stay in the middle as much as possible.
The tank should again take Garuda to one edge and face her away from the bulk of the party to minimize damage from Downburst. Watch out for when she teleports to one side of the arena, because she will use her new ability Mistral Shriek. Everyone should move as far away from her as possible, since it affects a circular area around her rather than the line-of-sight attack of Phase 1’s Mistral Song.
You will notice that Mistral Song works a little differently in Phase 2. Instead of teleporting to one side of the area, she’ll move to the middle and cast it in the direction she is facing. Quickly move behind her to avoid this. Another thing to note in Phase 2 is that there is a lot less space to move around compared to Phase 1. The tank will still need to dodge the frontal column attack of Slipstream, but there is less room to do this. Running straight through Garuda’s legs to move behind her can be a useful strategy here. Just take care to move back into position immediately afterwards to protect the rest of the party from Downburst. At around 25% of her HP, one final set of Razor Plumes will appear. Destroy them quickly to minimize damage to the party. Continue what you’ve been doing from the start and it won’t be long until Garuda falls.
And with that, you just beat one of the hardest bosses you’ll face on your FFXIV account!