Admit it. It’s pretty hard to forget the boss encounter against Garuda, considering how painstakingly difficult it was already. Now, if you’re just addicted to challenging yourself, bagging achievements, and getting all the loot and FFXIV Gil you can get, then maybe you should consider returning to the previous boss encounters on Hard Mode to unlock some more secret content. Today’s guide will cover the first part of Hard Mode Garuda. Read on below!
Hard Mode Garuda – More Achievements, Items, and FFXIV Gil Rewards
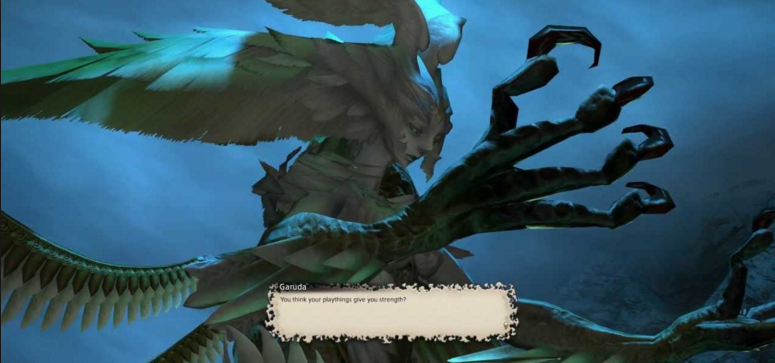
The first part of Garuda’s Hard Mode incarnation is actually quite similar to the Story Mode encounter in Final Fantasy XIV: A Realm Reborn. The second part, though, is noticeably different in terms of mechanics. As with Ifrit, you’ll need to defeat Garuda for the ‘A Relic Reborn’ quest. Hard Mode Garuda also drops some good mid-range endgame weaponry, which you can use for yourself or trade for Final Fantasy XIV Gil.
Phase 1: Dealing with Hard Mode Garuda for More Loot and FFXIV Gil
You should invest on way, way better gear than before when you buy FFXIV Gil, before you even start considering Hard Mode Garuda. Same as with the Story Mode encounter, the main tank should bring Garuda to the northern end of the arena and face her away from the group. Pay close attention every time she starts casting, and avoid Slipstream when it comes up, since it once again has no ground indicator. Meanwhile, ranged players should spread out on the left side, away from the rocks. Melee DPS should make sure they’re not getting hit by Downburst if possible; if you’re a melee DPS, poke or punch her in the back or sides to avoid this.
Phase 1: Surviving Hard Mode Garuda for More Loot and FFXIV Gil
Almost every minute, Garuda will disappear and cast either Mistral Song or Mistral Shriek, which you should be familiar with by now. The first time she disappears, she’ll reappear on the north side of the arena and cast Mistral Song. The second time, she’ll appear in the middle and cast Mistral Shriek. The third time, she’ll appear at the eastern side of the room and cast Mistral Song again. If you survive until her fourth vanish, she’ll use Mistral Shriek from the middle again; however, this guarantees that you’ll die shortly after this, and this means you’re not doing enough damage. Take note of this pattern, and take her down before she vanishes for the fourth time to deliver your death.
Phase 1: Countering Hard Mode Garuda for More Loot and FFXIV Gil
In each case, ensure that there is a rock between you and Garuda’s line-of-sight to avoid taking heavy damage from her problematic Mistral abilities. Hide inside the rock pillar arrangement for Mistral Song, and then hide outside them during Mistral Shriek. After surviving each blast, a large number of Razor Plumes will appear around Garuda. Destroy these as quickly as possible to ensure they don’t destroy the rocks. This is the same mechanic as the Story Mode encounter – only harder!
At around 50% health, Garuda will bellow something like, “soon you will see the depths of your folly, mortals!”, because you successfully pissed her off! She will shortly disappear and reappear after in the middle. This time, Razor Plumes will appear around the outside; again, destroy them as quickly as possible. You already know the consequences if you don’t. After knocking down this last set of Plumes, Garuda will move to the middle and start casting Aerial Blast. Gather your party behind one of the rocks. At this point, healers should cast Sacred Soil if they have the ability and start casting Medica II or Succor so it goes off just after Aerial Blast hits. After this, heal up with medicine you’ve purchased with cheap FFXIV Gil, and we’re on to the hell known as Phase 2.