Admit it. It’s pretty hard to forget the boss encounter against Garuda, considering how painstakingly difficult it was already. Now, if you’re just addicted to challenging yourself, bagging achievements, and getting all the loot and FFXIV Gil you can get, then maybe you should consider returning to the previous boss encounters on Hard Mode to unlock some more secret content. Today’s guide will cover the second part of Hard Mode Garuda. Read on below!
Hard Mode Garuda – More Achievements, Items, and FFXIV Gil Rewards
Following Phase 1 of the fight, after Aerial Blast, the tank should lure Garuda to the northwest corner, while ranged characters move to the western side. This helps keep everyone safe when the Great Whirlwinds show up a moment later. Remember to keep out of these at all costs as it can ultimately lead you to your demise. After which, Garuda will vanish and reappear with two adds at the southern end of the instance. These are Suparna and Chirada. Take note that both have the same abilities as Garuda – and that means, more Slipstream you should be careful of.
Phase 2: First Wave for More Loot and FFXIV Gil
The main tank should remain in position, while the rest of the party regroups with the ranged attackers. The tank should avoid Slipstream, healing with pots (which you should have stocked up on when you buy FFXIV Gil) whenever necessary, and ensure to have established aggro. Meanwhile, the entire group should focus on killing whichever of the two sisters is connected to Garuda – you can identify this through a green beam that heals Garuda. After this, the second tank should grab the add with the red beam and drag it towards the whirlwinds, facing it away from the group. The rest should likewise kill it as quickly as possible.
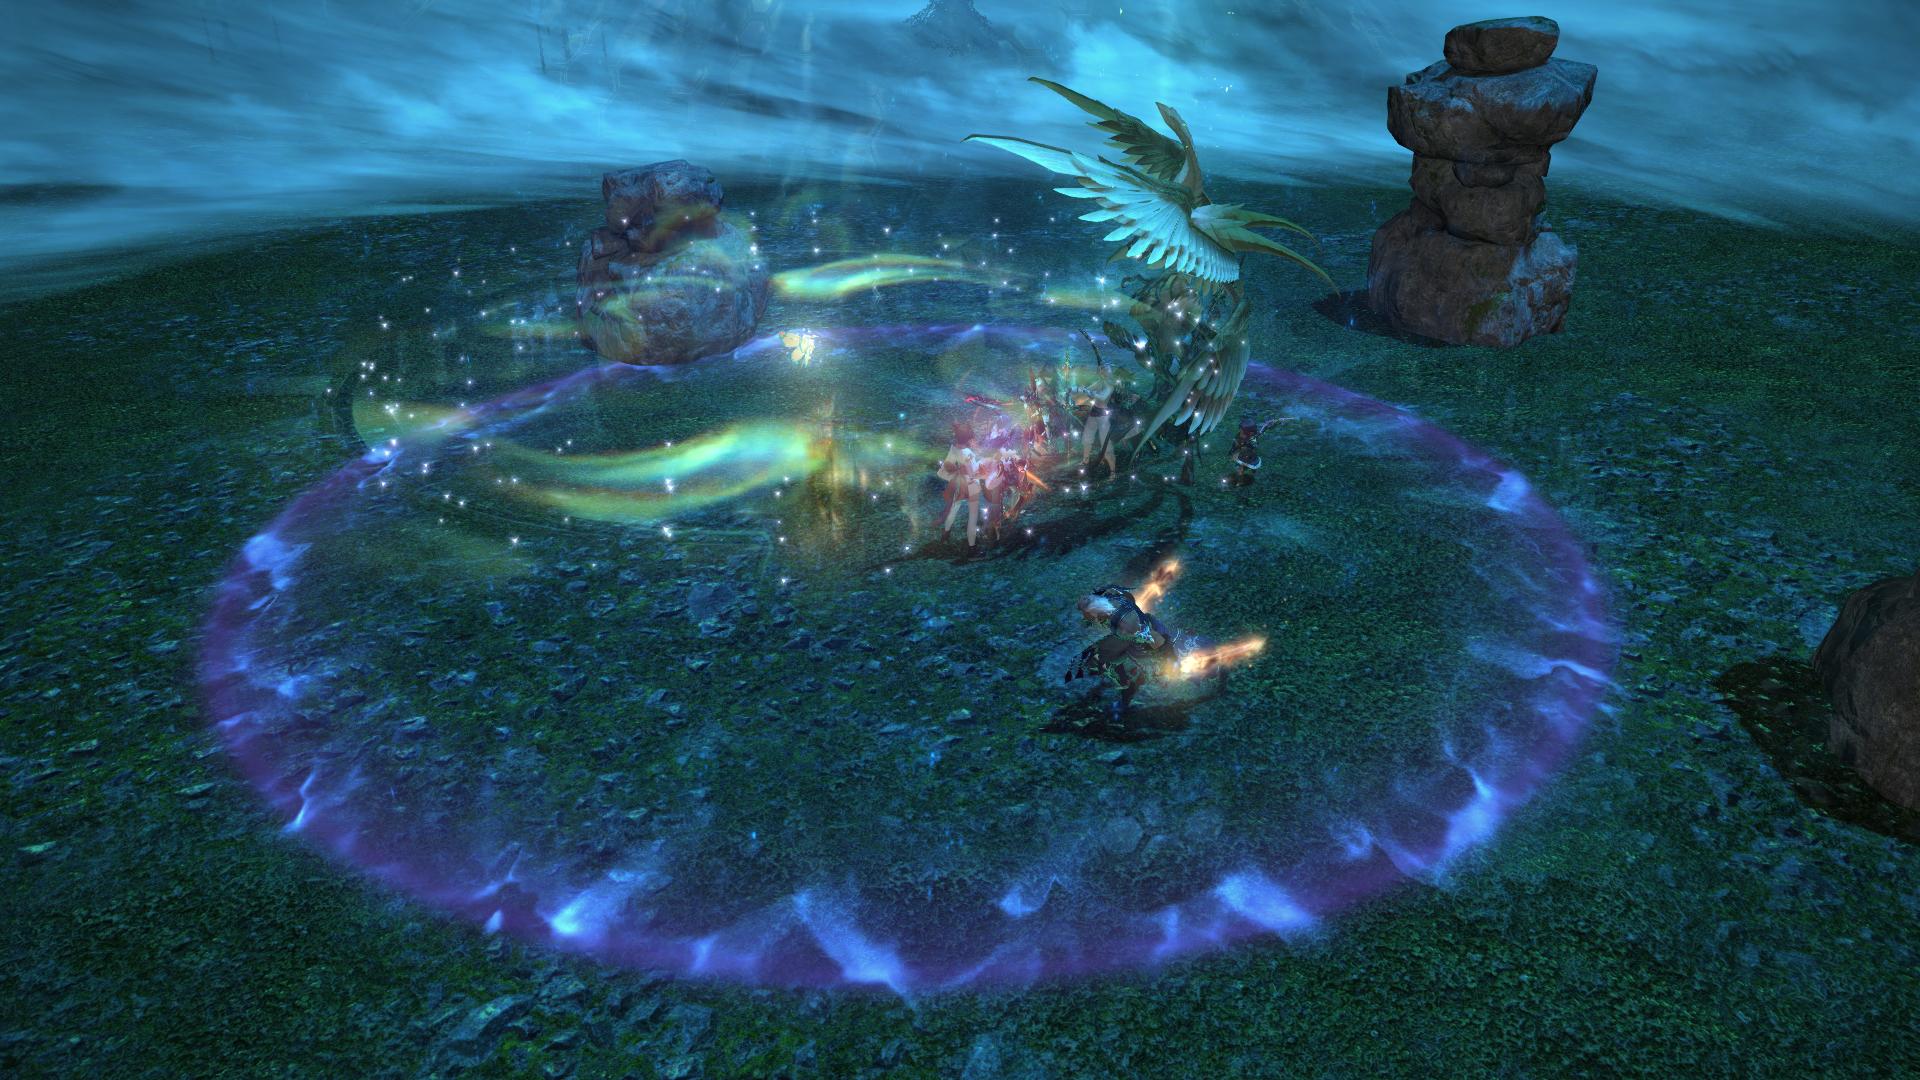
When Suparna and Chirada are killed, the Great Whirlwinds will start to fade and rotate. Move clockwise around the arena to avoid damage. Take out the Satin Plume as soon as you see it, followed by the Razor Plumes and then turn your attention back to Garuda. Once the party reaches the eastern edge of the arena, the whirlwinds will fade completely. At this point, everyone should stack in the middle to prepare for Eye of the Storm, which, like in the previous encounter, reduces the fighting space considerably, plus deals heavy damage to anyone caught in it. For the next and final wave of the Hard Mode Garuda fight, heal up with pots and meds you purchased with cheap FFXIV Gil and / or have your healers restore the party’s health as needed.
Phase 2: Second Wave for More Loot and FFXIV Gil
Garuda will vanish again and, surprise, bring Suparna and Chirada back for another frustrating battle. This time, they will spawn on the eastern and western sides of the room. Once again, kill whichever has the green beam first, followed by the red beam. Healers should stay at the north edge while the two tanks hold Suparna and Chirada where they appeared.
Phase 2: Final Wave for More Loot and FFXIV Gil
Eye of the Storm will fade once they fall for the second time. Everyone should hurry on to the southern edge, while the main tank should go to the southwest. Great Whirlwinds will appear again and rotate clockwise as before, so pay close attention to the zone. This should be nothing new, anyway. Now, finally, Garuda will vanish for one last time and bring Suparna and Chirada back (three times the charm!) and you should have a Level 3 Limit Break built up by now. A Summoner or Black Mage should set it off to cast Meteor and, given that your damage was significantly high enough throughout the fight, defeat all three sisters in one cast. If not, just do what you’ve been doing and within minutes, they will fall to the ground. Collect your well-deserved reward of Final Fantasy XIV Gil, weapons, card, and achievement/s. Congratulations!