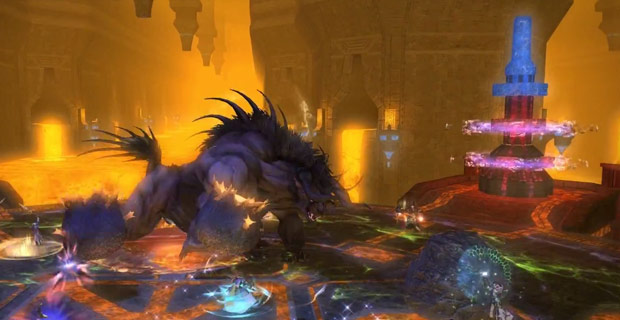
Time for the second part of our previous Primal Boss guide on Hard mode, FFXIV account holders! Today’s guide will cover Hard Mode Titan, the most difficult of the primal fights set in this difficulty. If you thought Garuda was difficult, think again.
Phase 2: Hard Mode Titan on your FFXIV Account
Once Titan’s health is down to 90%, expect Weight of the Land, as well as Landslide – which can now knock you off – and Tumult. The trick to surviving this stage is mobility. Start moving around and you’ll more than likely avoid the dangerous plumes. They appear under party members’ feet, so avoid where people were standing to avoid them as much as possible. Titan will then use a predictable rotation of abilities: Weight of the Land, then Landslide, then Tumult. As before, healers should get out of the way of Landslide and be already casting Medica II and / or Succor by the time Tumult hits. At 75%, Titan will use Geocrush again.
Phase 3: Countering Hard Mode Titan your FFXIV Account
Healers will have their hands full in this stage. Titan will start casting Tumult three times in a row during this phase, making it all the more important for healer Final Fantasy XIV account holders to pre-cast Medica II and / or Succor to go off as Tumult hits. Same with Story Mode, Titan gains the Rock Throw ability which encases one party member in a Granite Gaol. Knock them out as quickly as possible, and healers should remove the Determination Down debuff immediately.
Watch out for Bomb Boulders, one of Titan’s dangerous abilities which causes one of two patterns of bombs to fall into the arena and explode in the order they were dropped. The first pattern will fill the edges of the arena with bombs and drop a final bomb in the middle.
Stack behind the middle bomb and watch for the first of the outside bombs to blow up, then quickly move into the newly-created safe zone before the central bomb explodes. The second pattern will fill the center and corners of the arena with bombs. Move to the north, south, east or western edge of the arena to avoid taking in too much damage.
Phase 3: Hard Mode Titan’s Skill Rotation on your FFXIV Account
Titan’s rotation in this phase: Landslide, Weight of the Land, Bomb Boulders, Landslide, Weight of the Land, Rock Throw, and then Tumult. As before, the end of the phase will be marked by a Geocrush.
With that, we’ll end Phases 2 and 3, continue on to Phases 4 and 5 in the third article. Until next time, Final Fantasy 14 account holders!


