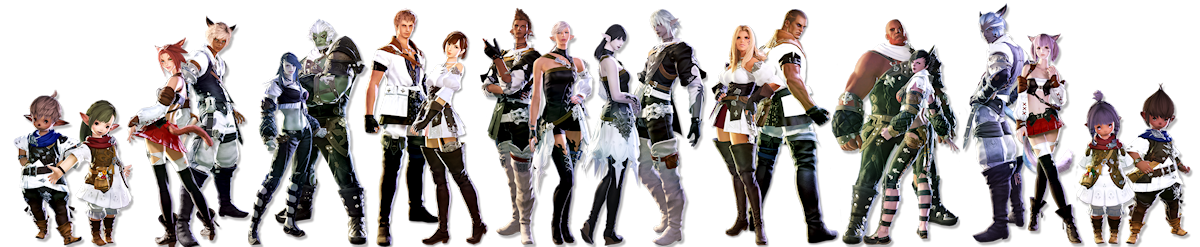
Primals are powerful entities that roam the world of Eorzea in Final Fantasy XIV: A Realm Reborn. Fans of the series will recognize most of them as ‘summons’ in the older games. FFXIV Gil hunters face Primals in difficult Trials or dangerous FATEs, and defeating them will reward you with powerful weapons, unique armor, special mounts, and story / quest progression.
The Battle on the Big Bridge for FFXIV Gil Hunters
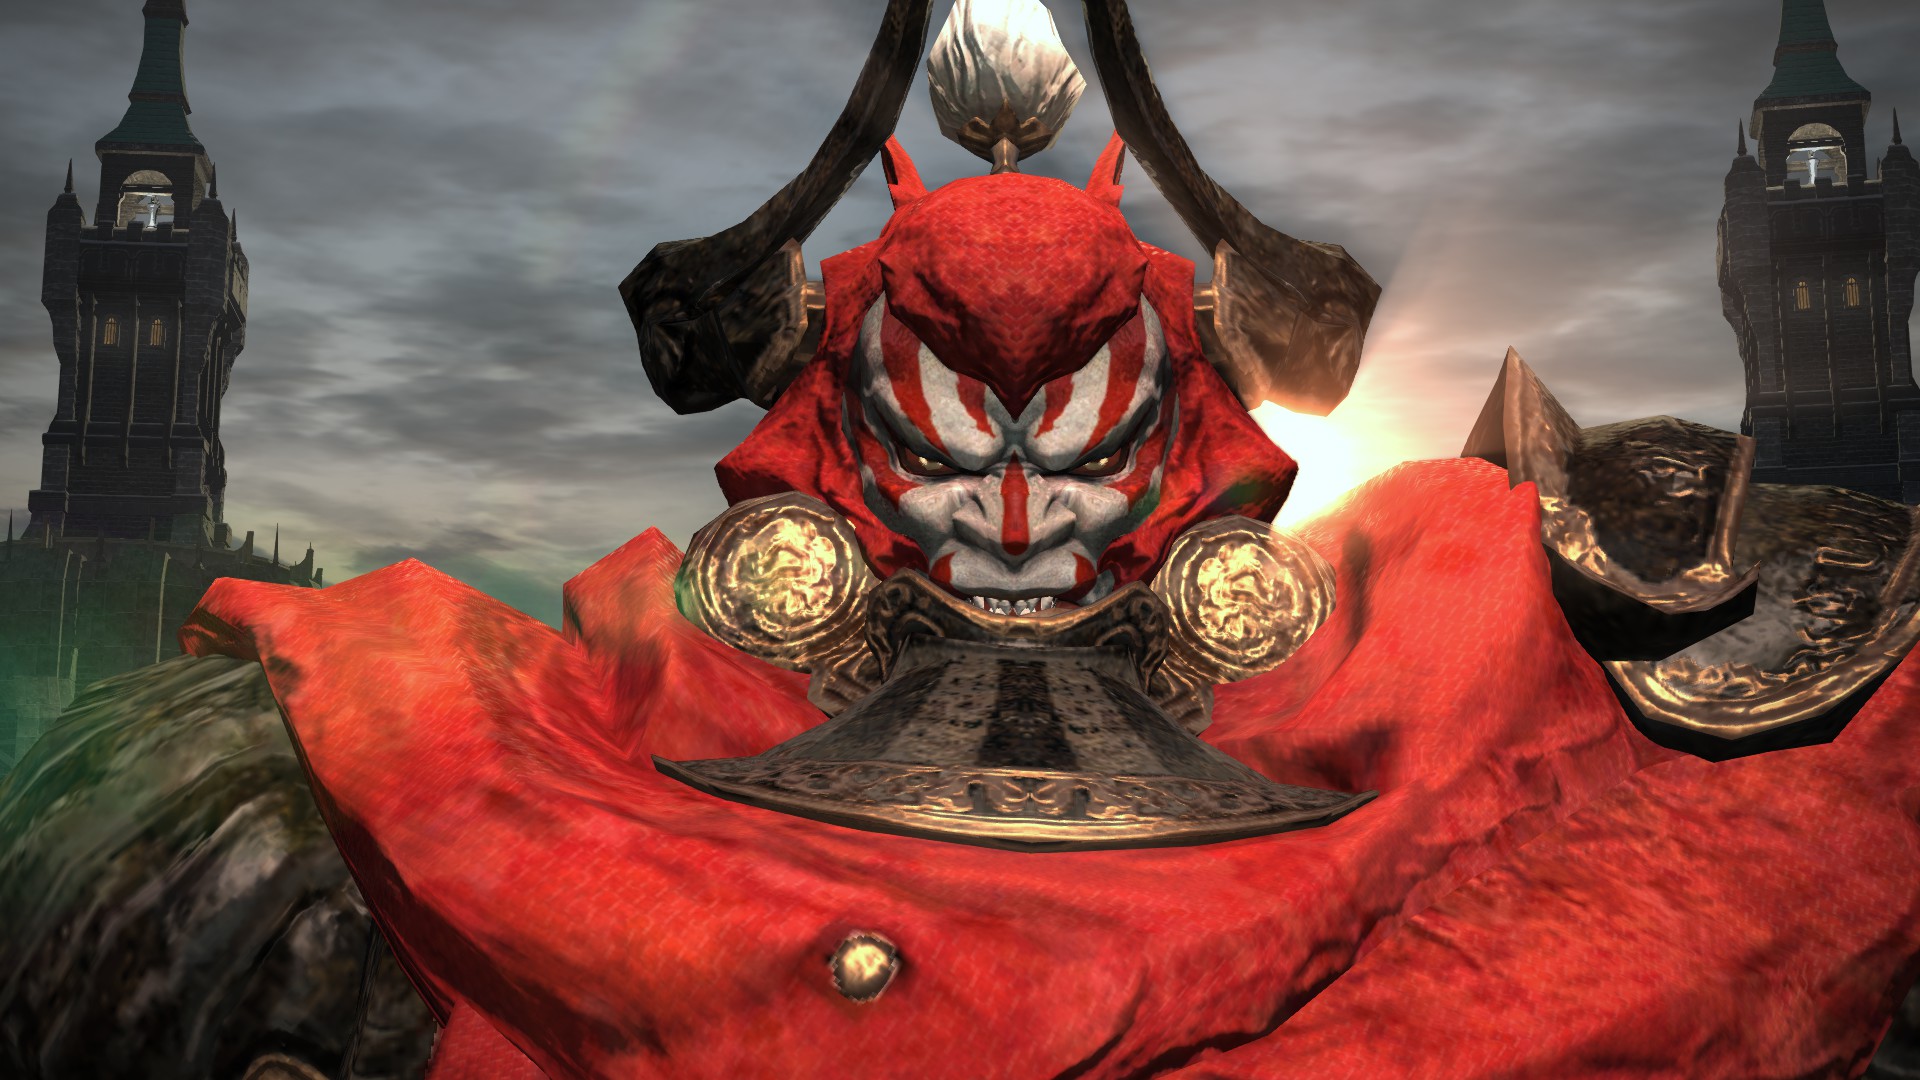
As with other Primal encounters such as Ifrit, Titan, etc., the battle with Gilgamesh unfolds in two distinct phases, between which you’ll have to chase the big lummox over the bridge and defeat a few mobs along the way. Before prompting the battle, make sure you aren’t under geared when you buy FFXIV Gil.
Phase 1
During this phase, Gilgamesh will occasionally cast TOAD on a player, which turns the target into a Toad as its effect. A Toaded player should keep moving and attempt to stay well away from Gilgamesh’s pet chicken until the debuff wears out. You can also opt for items that can cleanse status ailments and debuffs for cheap FFXIV Gil. Gilgamesh also has a frontal cone attack with a long cast time, and a circular area of effect attack around himself. You can easily avoid both abilities. Deal enough damage and Gilgamesh will run off, thus beginning Phase 2. Simply follow him and defeat the monsters along the way.
Phase 2
For the second phase, Gilgamesh will continue using Toad, though this time, on multiple players. There are several chickens too, and each of which will go after a single player. Gilgamesh will also use MINI to shrink players, reducing their damage dealt while increasing damage taken. He’ll also use WHIRL WINDS, which need to be avoided, and target individual players before jumping on them to deal damage.
Pay attention to Gilgamesh’s abilities and keep out of the way when Toad or Mini happens and this fight won’t be difficult at all. Overall, the battle’s worth it for the music, dialogue, Final Fantasy XIV Gil, and other rewards.